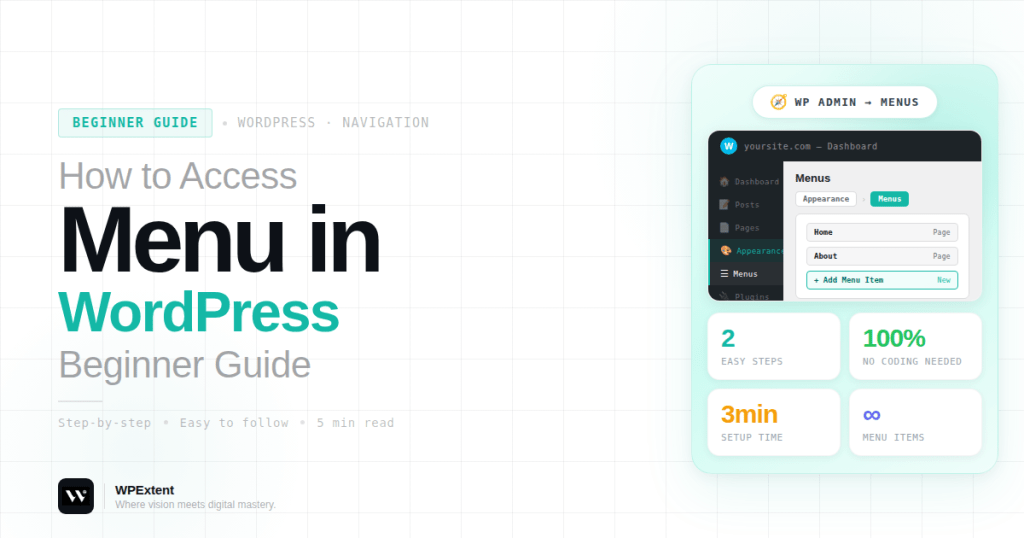
Managing your website navigation is one of the most important parts of building a user-friendly WordPress site. The menu helps visitors find your pages, services, and important content quickly.
If you’re new to WordPress, you might be wondering how to access the menu settings and customize your navigation.
In this simple guide, you’ll learn how to access the menu in WordPress step by step, along with tips to manage and edit your menus easily.
What Is a WordPress Menu?
A WordPress menu is the navigation bar that appears on your website, usually at the top (header) or bottom (footer).
Menus help users navigate your site by linking to:
- Pages (Home, About, Contact)
- Blog posts
- Categories
- Custom links
- Services or important sections
A well-structured menu improves both user experience and SEO.
How to Access the Menu in WordPress
Follow these simple steps to access your menu settings.
Step 1: Log in to Your WordPress Dashboard
Go to your website login page and enter your credentials.
Once logged in, you will see your WordPress dashboard.
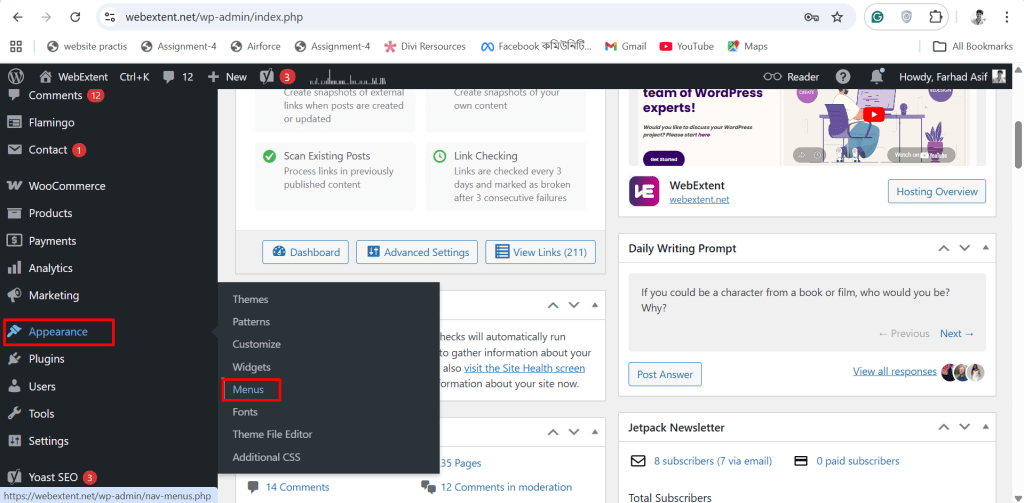
Step 2: Go to Appearance → Menus
From the left-hand sidebar:
- Click on Appearance
- Then click on Menus
This will take you to the menu management page.
Appearance → Menus from the WordPress dashboard sidebar
Understanding the Menu Dashboard
Once you access the menu section, you’ll see several options.
Menu Structure
This is where you:
- Add menu items
- Drag and reorder items
- Create dropdown menus
Add Menu Items
You can add:
- Pages
- Posts
- Custom links
- Categories
Simply select items and click Add to Menu.
Menu Settings
You can choose where your menu appears, such as:
- Primary menu (header)
- Footer menu
- Mobile menu
How to Create a New Menu
If you don’t have a menu yet, follow these steps:
- Click Create a new menu
- Enter a menu name (e.g., Main Menu)
- Click Create Menu
- Add pages or links
- Assign a display location
- Click Save Menu
How to Edit an Existing Menu
To edit your menu:
- Select the menu from the dropdown
- Click Select
- Add, remove, or reorder items
- Click Save Menu
You can also create dropdown menus by dragging items slightly to the right.
Common Issues and Fixes
Menu Not Showing on Website
- Make sure you assigned the menu to a location
- Click Save Menu after changes
Missing Menu Option
Some themes use a Customizer or block-based navigation instead of classic menus.
In that case:
- Go to Appearance → Customize
- Or Appearance → Editor (for block themes)
Pro Tips for Better Navigation
To improve your website menu:
- Keep it simple and clean
- Limit menu items (5–7 is ideal)
- Use clear and descriptive names
- Add important pages first
- Use dropdowns for better structure
A good menu improves both user experience and conversions.
Need Help with WordPress Setup?
If you want a professionally designed website with optimized navigation, working with experts can save time and ensure better results.
At WebExtent, we provide:
- WordPress website design
- SEO optimization
- Lead generation
- Graphic and logo design
- Full digital solutions
👉 Learn more here: https://wpextent.com/
We help businesses build websites that are not only beautiful but also easy to use and optimized for growth.
Conclusion
Accessing the menu in WordPress is simple once you know where to look.
By going to Appearance → Menus, you can create, edit, and manage your website navigation بسهولة.
A well-structured menu helps users navigate your site easily and improves your overall website performance.
Take a few minutes to organize your menu properly—it can make a big difference in how users experience your website.


Leave a Reply